二次开发
uniCloud
架构介绍
- 使用基于 koa 风格的 uniCloud 云函数路由库uni-cloud-router,集成封装众多实用的公共方法。
- 简单、快速、高效、借鉴了一些thinkphp的优点。
云函数目录结构:
├─ admin--------------------------------------后台
│  ├─ controller------------------------------控制器
│  ├─ service---------------------------------服务层
│  ├─ middleware------------------------------中间件
├─ client-------------------------------------前台
├─ common-------------------------------------公共
│  ├─ base------------------------------------基类
│  ├─ uni-config-center-----------------------配置中心
│  ├─ uni-cloud-router----------------------- uni koa路由库
│  ├─ uni-id----------------------------------uni-id用户体系
│  ├─ uni-captcha-----------------------------图形验证码
│  ├─ uni-sec-check---------------------------内容安全
│  └─ uni-stat--------------------------------uni统计
├─ crontab------------------------------------自定义定时任务
├─ uni-sec-check-cron-------------------------内容安全定时任务
├─ uni-stat-cron------------------------------uni统计定时任务
└─ uni-stat-receiver--------------------------uni统计定时任务
增删改查页面示例
/*引入基类*/
const Controller = require("../base");

/**
 * 类别管理
 */
module.exports = class Category extends Controller {
    /**
     * 列表
     */
    async index() {
        /*获取参数*/
        let keyword = this.getData('keyword'); //关键词
        // this.getData('参数名','提示信息','数据类型','默认值')

        /*搜索*/
        let where = {};
        if (keyword) {
            where.name = {$regex: keyword}; //关键词模糊搜索
        }

        /*获取数据*/
        let result = await this.dbCollection('article_category').select({
            where,
            order: "sort asc"
        });

        /*返回数据*/
        this.success(result);
    }

    /**
     * 数据验证
     * 格式:{字段名:['提示信息','数据类型','默认值','是否必填(默认是)']}
     */
    validateData() {
        return this.validate({
            pid: ['上级类别不能为空'],
            name: ['类别名称不能为空'],
            sort: ['排序不能为空', 'int', 100],
            status: ['状态不能为空', 'int', this.enum.EnableOrDisable.enable]
        });
    }

    /**
     * 新增
     */
    async add() {
        /*获取数据并验证*/
        let data = this.validateData();

        /*添加类别*/
        await this.dbCollection('article_category').insert({
            ...data,
            create_time: Date.now(),
            update_time: Date.now()
        });

        /*返回数据*/
        return this.success('添加成功');
    }

    /**
     * 修改
     */
    async edit() {
        /*获取数据并验证*/
        let _id = this.getData('_id', 'id不能为空');
        let data = this.validateData();

        /*更新*/
        await this.dbCollection('article_category').update({
            _id,
            data: {
                ...data,
                update_time: Date.now()
            }
        });

        /*返回数据*/
        this.success('更新成功')
    }

    /**
     * 删除
     */
    async delete() {
        /*获取参数*/
        let _id = this.getData('_id', 'id不能为空');

        /*判断是否存在文章*/
        let count = await this.dbCollection('article').count({
            category_id: _id,
            is_delete: this.enum.YesOrNo.no
        });
        if (count > 0) {
            this.error('该类别下存在文章不能删除')
        }

        /*删除*/
        await this.dbCollection('article_category').delete(_id);

        /*返回数据*/
        this.success('删除成功')
    }
};
添加数据
使用 insert 方法添加数据,支持批量添加,返回_id或_id数组(批量添加返回_id数组)
/* 1.单条数据添加 */
let _id = await this.dbCollection('article').insert({
    title: 'life cms',
    content: 'Hello,life cms!',
    create_time: Date.now(),
    update_time: Date.now()
});

/* 2.批量数据添加 */
let _ids = await this.dbCollection('article').insert([
    {
        title: 'life cms 01',
        content: 'Hello,life cms!',
        create_time: Date.now(),
        update_time: Date.now()
    },
    {
        title: 'life cms 02',
        content: 'Hello,life cms!',
        create_time: Date.now(),
        update_time: Date.now()
    }
]);
更新数据
使用 update 方法更新数据,支持通过_id更新、通过where更新,返回受影响记录数
/* 1.通过_id更新 */
await this.dbCollection('article').update({
    _id: '64cb91c1337a9f4db7cddb69',
    data: {
        title: 'life cms',
        content: 'Hello,life cms!',
        update_time: Date.now()
    }
})

/* 2.通过where更新 */
await this.dbCollection('article').update({
    where: {title: 'life cms'},
    data: {
        title: 'life cms v2',
        content: 'Hello,life cms!',
        update_time: Date.now()
    }
})
删除数据
使用 delete 方法删除数据,支持通过_id删除、通过where删除、通过_id数组删除,返回受影响记录数
/* 1.通过_id删除 */
await this.dbCollection('article_category').delete(_id);

/* 2.通过where删除 */
let where = {title: 'life cms'}
await this.dbCollection('article_category').delete(where);

/* 3.通过_id数组删除 */
let _ids = ['64cb91c1337a9f4db7cddb69', '88cb91c1337a9f4db7cddb69']
await this.dbCollection('article_category').delete(_ids);
查询数据-单条数据
使用 find 方法查询单条数据,返回数据对象。
支持参数: field(查询字段)、unfield(屏蔽查询字段)、join(联表查询)、where(查询条件)、order(排序)
/*参数示例*/
let result = await this.dbCollection('article').find({
    field: '_id,title,create_time,content', //查询字段
    unfield: 'content', //屏蔽字段
    join: { //join:联表,超过一个表可用数组 join:[{……},{……}]
        field: 'name as category_name', //查询关联表的字段
        from: "article_category as ac", //关联表名与别名,as 后面为关联表别名
        on: "ac._id = category_id" //关联字段
    },
    where: {
        category_id: '64cb91c1337a9f4db7cddb69', //当前表字段
        'ac.name': '心灵' //关联表字段
    },
    order: 'update_time desc' //按更新时间倒序
});

/* 1.单表查询 */
let result = await this.dbCollection('article').find({
    where: {title: 'life cms'},
    order: "sort asc"
});

/* 2.多表查询(join) */
let result = await this.dbCollection('ad').find({
    join: [
        {
            field: 'name as location_name',
            from: "ad_location as al", //关联表1
            on: "al.code = location"
        },
        {
            field: 'name as category_name',
            from: "article_category as ac", //关联表2
            on: "ac._id = category_id"
        }
    ],
    where: {title: 'life cms'},
    order: "sort asc"
});
查询数据-多条数据
使用 select 方法查询列表数据,返回列表数组
支持参数:field(查询字段)、unfield(屏蔽查询字段)、join(联表查询)、where(查询条件)、order(排序)、group(分组)、limit(获取指定数量的数据)、skip(跳过指定数量的数据)、unwind(将数组字段拆分成多个文档)
/*参数示例*/
let result = await this.dbCollection('article').select({
    field: '_id,title,create_time,content', //查询字段
    unfield: 'content', //屏蔽字段
    join: { //join:联表,超过一个表可用数组 join:[{……},{……}]
        field: 'name as category_name', //查询关联表的字段
        from: "article_category as ac", //关联表名与别名,as 后面为关联表别名
        on: "ac._id = category_id" //关联字段
    },
    where: {
        category_id: '64cb91c1337a9f4db7cddb69', //当前表字段
        'ac.name': '心灵' //关联表字段
    },
    skip: 10,// 排除前10条数据
    limit: 100, //获取前100条数据
    order: 'update_time desc' //按更新时间倒序
});

/* 1.单表查询 */
let result = await this.dbCollection('article').select({
    where: {title: 'life cms'},
    order: "sort asc"
});

/* 2.多表查询(join) */
let result = await this.dbCollection('ad').select({
    join: [
        {
            field: 'name as location_name',
            from: "ad_location as al", //关联表1
            on: "al.code = location"
        },
        {
            field: 'name as category_name',
            from: "article_category as ac", //关联表2
            on: "ac._id = category_id"
        }
    ],
    where: {title: 'life cms'},
    order: "sort asc"
});

/* 3.分组查询 */
let result = await this.dbCollection('search_log').select({
    group: 'keyword,count(keyword) as count',
    order: 'count desc'
})
查询数据-单个字段值
使用 value 方法获取某个字段值。
支持参数: field(查询字段)、join(联表查询)、where(查询条件)、order(排序)
/*获取title值*/
let result = await this.dbCollection('article').value({
    field: 'title',
    where: {_id: '64cb91c1337a9f4db7cddb69'},
    order: "sort asc"
});
查询数据-聚合查询
- 使用 count 方法获取记录数。
- 使用 sum 方法获取总和。
- 使用 min 方法获取最小值。
- 使用 max 方法获取最大值。
- 使用 avg 方法获取平均值。
支持参数: field(查询字段)、join(联表查询)、where(查询条件)、order(排序)
/*1.获取记录数-count*/
let result = await this.dbCollection('article').count();

/*2.获取总和-sum*/
let result = await this.dbCollection('article').sum({
    field: 'read', //统计字段
    where: {_id: '64cb91c1337a9f4db7cddb69'} //条件
});

/*3.获取平均值-avg*/
let result = await this.dbCollection('article').avg({
    field: 'read', //统计字段
    where: {_id: '64cb91c1337a9f4db7cddb69'} //条件
});

/*4.获取最大值-max*/
let result = await this.dbCollection('article').max({
    field: 'read', //比较字段
    where: {_id: '64cb91c1337a9f4db7cddb69'} //条件
});

/*5.获取最小值-min*/
let result = await this.dbCollection('article').min({
    field: 'read', //比较字段
    where: {_id: '64cb91c1337a9f4db7cddb69'} //条件
});
查询数据-查询条件
支持 $ne(不等于)、$gt(大于)、$gte(大于等于)、$lt(小于)、 $regex(模糊搜索、正则搜索)、$in(in查询)、$not(not查询)、$or(或)、$and( 并) 等查询条件
/*查询条件示例*/
let result = await this.dbCollection('article').select({
    where: {
        title: 'life cms', // 等于
        title: {$ne: 'life cms'}, // 不等于
        read: {$gt: 1000}, // 大于
        read: {$gte: 1000}, // 大于等于
        read: {$lt: 1000}, // 小于
        read: {$lte: 1000}, // 小于等于
        title: {$regex: 'life'}, // 关键词模糊搜索,相当于mysql的  like '%life%'
        title: {$regex: '^life/'}, // 关键词模糊搜索,相当于mysql的  like '%life'
        title: {$regex: 'life$'}, // 关键词模糊搜索,相当于mysql的  like 'life%'
        cateroy_id: {$in: ['_id01', '_id02']}, // in 查询
        cateroy_id: {$not: {$in: ['_id01', '_id02']}}, // not 查询
        $or: [{title: 'life cms 01'}, {title: 'life cms 02'}], // or 查询
        $and: [{title: 'life cms 01'}, {read: {$gt: 1000}}] // and 查询
    }
});
修改表结构
使用alter方法修改表结构,支持添加字段、重名名字段、删除字段。
/*添加字段*/
await this.dbCollection('test').alter({
   command: 'add column', // 添加字段命令
   field: 'status', // 添加字段名称
   defaultVal: 0, // 默认值
})
 // 往test表中新增一个名为status的字段,默认值为0


/*重命名字段*/
await this.dbCollection('test').alter({
   command: 'rename', // 重命名字段命令
   oldField: 'status', // 旧字段名称
   newField: 'state', // 新字段名称
})
// 修改test表的status字段名称为state


/*删除字段*/
await this.dbCollection('test').alter({
   command: 'drop column', // 删除字段命令
   field: 'state', // 删除字段名称
})
// 删除test表中的state字段
数据表前缀
- 支持数据表前缀设置,简化数据表名输入。
如:数据表'o_article',操作时只需传入'article',例 this.dbCollection('article')。
- 配置:uni-config-center/sys/config.js的database节点。
/*数据表前缀*/
 database: {
     prefix: 'o_', //系统数据表前缀
     other_prefix: ['uni-', 'opendb-'] // 第三方数据表前缀
 }
 // 第三方数据表前缀不会启用简化前缀,调用例 this.dbCollection('uni-id')
请求参数
- 通过 this.getData() 方法获取请求参数。
- 格式:this.getData('参数名','提示信息','数据类型','默认值','是否必填,默认是')
- 示例:let keyword=this.getData('keyword'),参数名必填,其他参数非必填。
- 验证的数据类型支持:int、number、mobile、email、tel、url、password、length、dateRange等。
let keyword = this.getData('keyword'); //关键词,没填提示信息参数,可为空。
let username = this.getData('username', '用户名', 'length|2,32'); // 需大于2个字符小于32个字符
let create_time = this.getData('create_time', '日期', 'dateRange'); // 值格式:['2023-08-01','2023-08-30']
let mobile = this.getData('mobile', '手机号码', 'mobile'); // 手机号码不能为空,且需为需为手机号码格式
let pageSize = this.getData('pageSize', '分页记录数', 'int', 10);// 分页记录数不能为空,且需为整型格式
响应输出
- 通过 this.success() 方法中断程序执行,输出成功的提示信息或数据对象,格式:this.success(msg,data,code) ,msg如果是数据对象或布尔值、整型,会自动赋值给data。
- 通过 this.error() 方法中断程序执行,输出失败提示信息。格式:this.error(msg,code)。
- 通过云函数根目录下的config.js的Response可配置输出json格式的code、msg键名与默认值。
let count = await this.dbCollection('article').count({
    category_id: _id,
    is_delete: this.enum.YesOrNo.no
});
if (count > 0) {
    this.error('该类别下存在文章不能删除')
}
let result = await this.dbCollection('article_category').delete(_id);
this.success('删除成功')
// 或 this.success(result)
检举
- 检举在common/base/enum下定义,可在enum.js中定义,也可新建一个文件。
/**
  * 显示/隐藏检举
  */
 ShowOrHide: {
     show: 1,
     hide: 0,
     properties: {
         1: '显示',
         0: '隐藏'
     }
 },

 /**
  * 是/否检举
  */
 YesOrNo: {
     yes: 1,
     no: 0,
     properties: {
         1: '是',
         0: '否'
     }
 }
- 调用。
this.enum.YesOrNo.yes // 1
this.enum.YesOrNo.properties // {1:是,0:否}
缓存
- 设置缓存:this.common.cache('缓存名称','缓存值','缓存时间'),缓存时间单位为秒,不填时默认为0,表示永不过期。
- 读取缓存:this.common.cache('缓存名称')。
- 删除缓存:this.common.cache('缓存名称',null)。
/*设置缓存*/
let menu = [{id: 1, name: '首页'}]
this.common.cache('menu', menu, 7200) // 7200秒后过期
// 或 this.common.cache('menu', menu) // 永不过期

/*读取缓存*/
let cacheMenu = this.common.cache('menu')

/*删除缓存*/
this.common.cache('menu', null)
定时任务
- 云函数crontab,专门处理定时任务,支持多个定时任务处理,支持处理远程访问任务和本地任务。
- 定时任务添加入口,crontab云函数下的controller/index.js的 index 方法。
- 定时任务定义入口,crontab云函数下的controller/base.js的 run 方法。
- 定时格式格式:this.run('定时任务名称', '执行时间' , '任务类型'),任务类型值为request表示远程访问任务,local表示本地任务,默认值为local,本地任务即执行本地service目录(基于 koa 风格的 uniCloud 云函数路由库uni-cloud-router规范的service目录)下定义的任务。
/* 远程访问任务 */
await this.run('collect', 24 * 60 * 60 , 'request'); //文章采集,每24小时执行一次

/* 本地任务 */
await this.run('articleRefreshSort', 24 * 60 * 60); //更新文章排序,每24小时执行一次
前台 (uni-app)
架构介绍
- 使用this.$uniCloudRequest()访问云函数,自动判断是否需要登录。
- 集成封装众多实用的组件与公共方法,支持uView UI 组件。
目录结构:
├─ common-------------------------------------公共
│  ├─ css-------------------------------------css
│     ├─ base.scss----------------------------公共css
│     ├─ iconfont.css-------------------------字体图标css
│     ├─ iconfont.ttf-------------------------字体图标ttf
│  ├─ sdk-------------------------------------js sdk
│  ├─ base.js---------------------------------公共方法
│  ├─ util.js---------------------------------工具方法
│  ├─ validate.js-----------------------------验证方法
│  ├─ init.js---------------------------------初始化
├─ components---------------------------------组件
├─ store--------------------------------------状态管理
├─ static-------------------------------------静态资源
├─ res----------------------------------------App图标与启动图
├─ pages--------------------------------------页面
├─ uni_modules--------------------------------插件目录
├─ config.js----------------------------------配置文件
├─ pages.json---------------------------------页面路由
开发示例
<template>
	<view class="page">
		<view class="content">
			<view class="register">
				<view class="title">欢迎注册!</view>
				<view class="form">
					<view class="item">
						<iconfont type="mobile"></iconfont>
						<u-input type="number" v-model="form.mobile" placeholder="请输入手机号码" maxlength="11" border="none" clearable />
					</view>
					<view class="item">
						<iconfont type="pwd"></iconfont>
						<u-input type="password" v-model="form.password" placeholder="请输入密码" maxlength="32" border="none" clearable />
					</view>
					<view class="item">
						<iconfont type="user"></iconfont>
						<u-input type="text" v-model="form.nickname" placeholder="请输入昵称" maxlength="30" border="none" clearable />
					</view>
					<view class="item">
						<iconfont type="captcha"></iconfont>
						<u-input type="text" v-model="form.captcha" placeholder="请输入验证码" maxlength="6" border="none" clearable />
						<u-code ref="uCode" @change="updateSendSmsCodeTip" seconds="60" @start="hasSendSmsCode = true" @end="hasSendSmsCode = false"></u-code>
						<u-button class="btn-send" @click="sendSmsCode" :text="sendSmsCodeTip" :disabled="hasSendSmsCode"></u-button>
					</view>
					<view class="protocol">
						<u-checkbox-group @change="agreeChange"><u-checkbox :checked="agree" shape="circle" activeColor="#8cc7b5" label="同意"></u-checkbox></u-checkbox-group>
						<navigator url="/pages/common/protocol"><view class="name">《用户协议和隐私政策》</view></navigator>
					</view>
					<button class="button" @click="register">注册</button>
				</view>
				<view class="other"><navigator url="login/index" open-type="navigate" hover-class="none">已有账号,点此登录</navigator></view>
			</view>
		</view>
	</view>
</template>
<script>
import { mapMutations } from 'vuex';
export default {
	data() {
		return {
			form: {
				mobile: '',
				password: '',
				nickname: '',
				captcha: ''
			},
			agree: true,
			hasSendSmsCode: false,
			sendSmsCodeTip: ''
		};
	},
	onLoad() {},
	methods: {
		...mapMutations({
			login: 'user/login'
		}),

		/**
		 * 发送验证码
		 */
		sendSmsCode() {
			if (this.$refs.uCode.canGetCode) { //允许发送验证码
				this.$loading('发送中…');
				this.$uniCloudRequest({
					action: 'auth/sendSmsCode',
					data: {
						mobile: this.form.mobile,
						type: 'register'
					},
					success: res => {
						if (res.errCode === 0) {
							this.$success('发送成功');
							this.$refs.uCode.start(); //开始倒计时
						} else {
							this.$alert(res.errMsg);
						}
					}
				});
			}
		},

		/**
		 * 更新发送验证码提示
		 */
		updateSendSmsCodeTip(text) {
			this.sendSmsCodeTip = text;
		},

		/**
		 * 同意《用户协议与隐私政策》
		 */
		agreeChange() {
			this.agree = !this.agree;
		},

		/**
		 * 注册
		 */
		register() {
			if (!this.agree) {
				this.$alert('请同意《用户协议与隐私政策》');
				return;
			}
			this.$loading('注册中…');
			this.$uniCloudRequest({
				action: 'auth/register',
				data: {
					...this.form
				},
				success: res => {
					if (res.errCode === 0) {
						this.$success('注册成功');
						this.login(res.userInfo); //注册完自动登录
                        uni.switchTab({url: '/pages/user/index'});//跳转至用户中心
					} else {
						this.$alert(res.errMsg);
					}
				}
			});
		}
	}
};
</script>
后台 (AntDesign UI)
架构介绍
- 使用this.$uniCloudRequest()访问云函数,自动判断是否需要登录。
- 引入Ant Design of Vue UI 框架,支持所有AntDesign UI方法和组件。
- 集成封装众多公众方法与组件,支持动态路由配置(后台-菜单管理)。
特点
后台采用AntDesign UI + uniCloud,封装了AntDesign UI原生访问uniCloud的方法,支持本地uniCloud调试,非云函数url化方式,可以用AntDesign UI原生的开发方式开发后台,支持所有AntDesign UI方法和组件,支持动态路由配置(后台-菜单管理),无需在page.json上配置路由,权限配置与“后台-系统管理-菜单管理”关联,配置简单,可以控制到每个页面、按钮。
开发示例
<!-- 添加/编辑 -->
<template>
   <a-modal :width="750" :visible="show" :confirm-loading="loading" :title="form._id ? '修改广告位' : '添加广告位'" :body-style="{ paddingBottom: '8px' }" @update:visible="closeEdit" @ok="save">
      <a-form ref="form" :model="form" :rules="rules" :label-col="{ md: { span: 7 }, sm: { span: 24 } }" :wrapper-col="{ md: { span: 17 }, sm: { span: 24 } }">
         <a-row :gutter="16">
            <a-col :md="12" :sm="24" :xs="24">
               <a-form-item label="广告位名称" name="name">
                  <a-input allow-clear placeholder="请输入广告位名称" v-model:value="form.name" />
               </a-form-item>
               <a-form-item label="广告位宽度" name="width">
                  <a-input-number :min="0" class="base-fluid" placeholder="广告位宽度" v-model:value="form.width" />
               </a-form-item>
               <a-form-item label="排序号:" name="sort">
                  <a-input-number :min="0" class="base-fluid" placeholder="请输入排序号" v-model:value="form.sort" />
               </a-form-item>
            </a-col>
            <a-col :md="12" :sm="24" :xs="24">
               <a-form-item label="广告位标识" name="code">
                  <a-input allow-clear placeholder="请输入广告位标识" v-model:value="form.code" />
               </a-form-item>
               <a-form-item label="广告位高度" name="heigh">
                  <a-input allow-clear placeholder="广告位高度" v-model:value="form.heigh" />
               </a-form-item>
               <a-form-item label="备注" name="remark">
                  <a-textarea allow-clear auto-size placeholder="广告位备注" v-model:value="form.remark" />
               </a-form-item>
            </a-col>
         </a-row>
      </a-form>
   </a-modal>
</template>

<script>
export default {
   name: 'LocationEdit',
   props: {
      show: Boolean, //是否展示
      data: Object //数据源
   },
   data() {
      return {
         form: {},
         rules: {
            name: [{ required: true, type: 'string', message: '请输入广告位名称', trigger: 'blur' }],
            code: [{ required: true, type: 'string', message: '请输入广告位标识', trigger: 'blur' }],
            sort: [{ required: true, type: 'number', message: '请输入排序号', trigger: 'blur' }]
         },
         loading: false
      };
   },
   watch: {
      /*初始化表单数据*/
      data: {
         handler(value) {
            this.form = value;
            if (this.$refs.form) {
               this.$refs.form.clearValidate();
            }
         },
         immediate: true
      }
   },
   methods: {
      /**
       * 保存
       */
      save() {
         this.$refs.form.validate().then(() => { //表单验证
            this.loading = true;
            this.$uniCloudRequest({ //调用云函数
               action: 'ad/location/' + (this.form._id ? 'edit' : 'add'),
               data: this.form,
               success: res => {
                  this.loading = false;
                  if (res.errCode === 0) {
                     this.$message.success(res.errMsg);
                     this.closeEdit(); //关闭弹窗
                     this.$emit('reload'); //刷新数据
                  } else {
                     this.$message.error(res.errMsg);
                  }
               }
            });
         });
      },
      /**
       * 关闭弹窗
       */
      closeEdit() {
         this.$emit('update:show', false);
      }
   }
};
</script>
动态路由
在后台“系统管理-菜单管理”中管理动态路由。 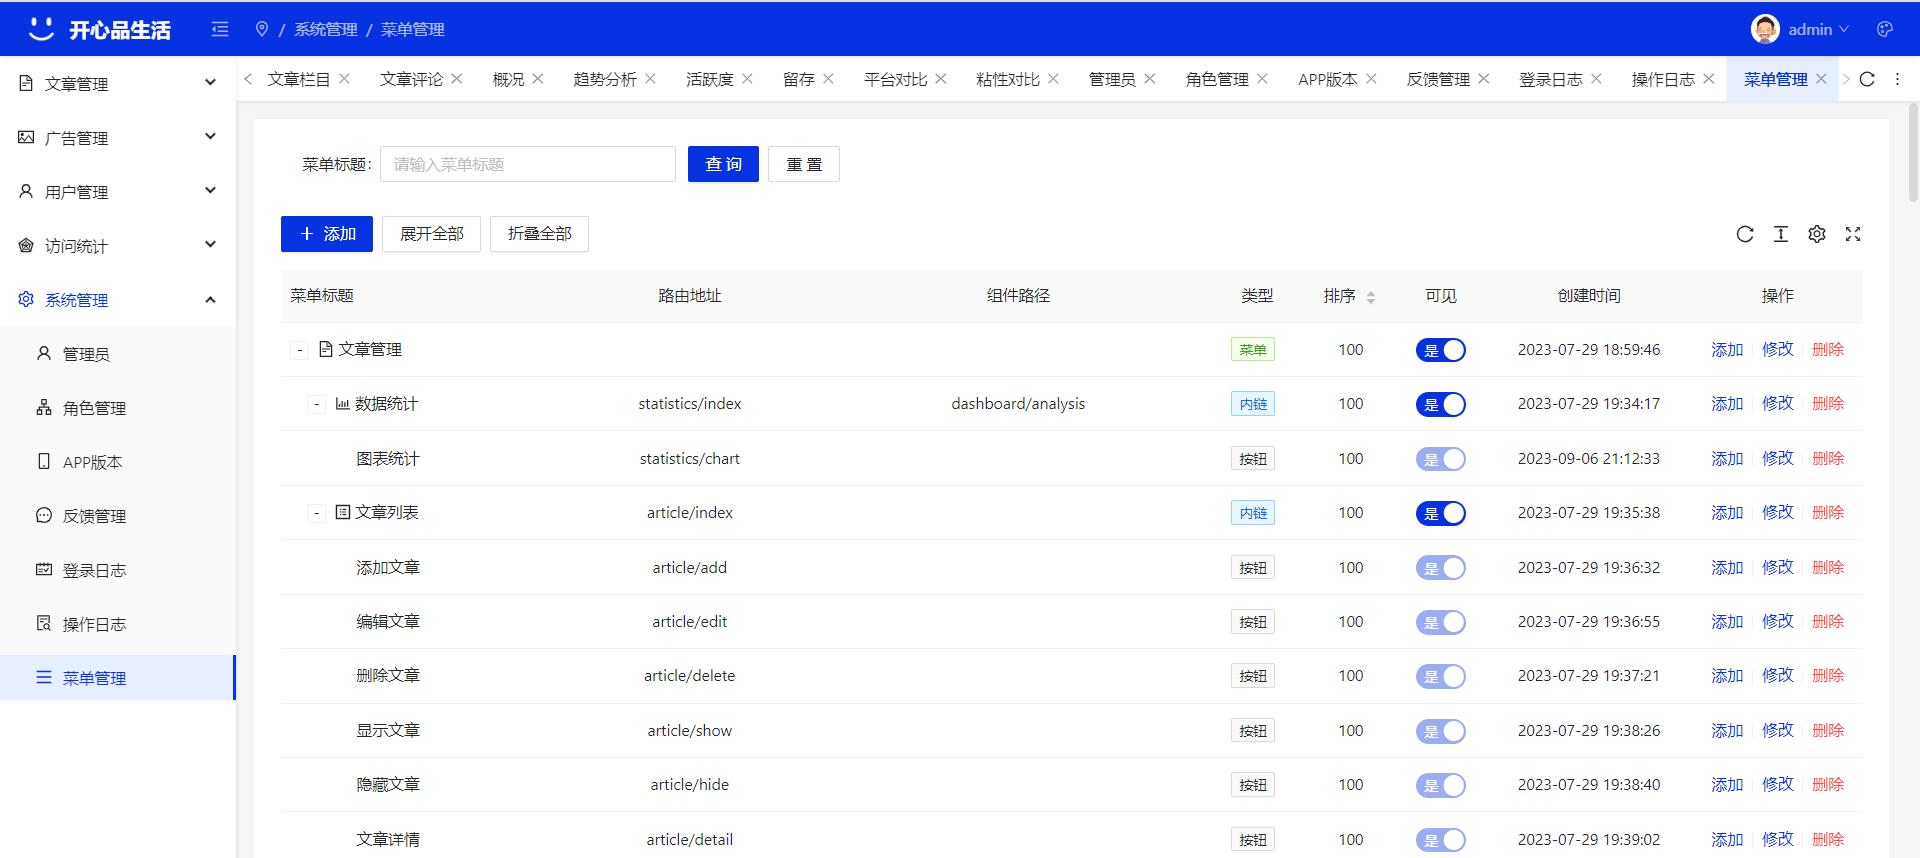
提示
路由地址与组件路径一致时,路由地址对应的组件路径可不填。